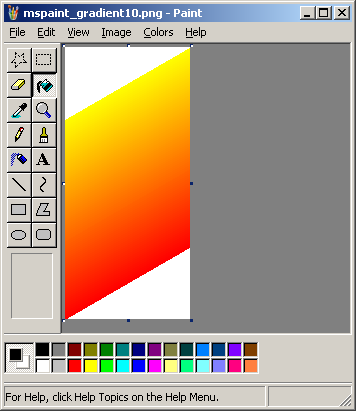
Traditionally, if you wish to make a smooth color gradient in MSPaint, you had two options:
- Manually calculate the values and draw them in pixel by pixel modifying one color at a time with the Edit Color menu.
- If you're feeling cleverly sneaky, modify the system title bar colors to the colors you wanted and rip them with print screen.
Both options were painful. There is another indirect way to get the same effect and offers a bit more control than doing weird things the print-screening the title bar.
Start out with a picture that is 100 pixels wide and however many pixels tall you want your gradient to be.
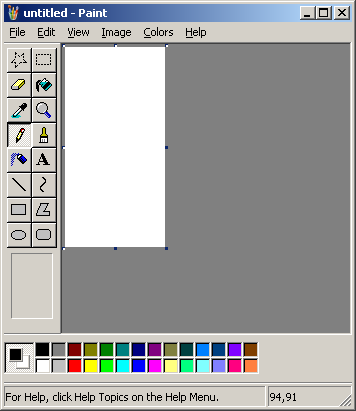
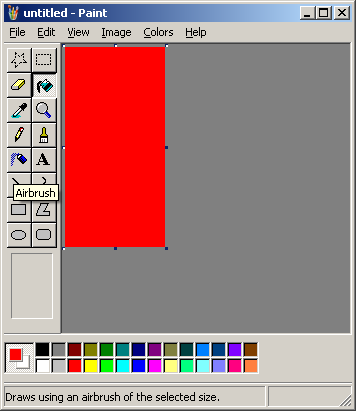
Now fill the area with one of the colors you wish to create a gradient of.
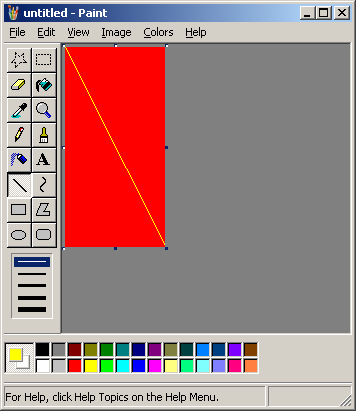
Now, using the line tool, create a line going from one corner to the opposite corner with the other color you wish to use in your gradient. It doesn't have to be perfect, as long as one side of the image is separated from the other without any "leaks" because you will be using the bucket tool to fill in one side.
Now, with the bucket tool, fill in one side.
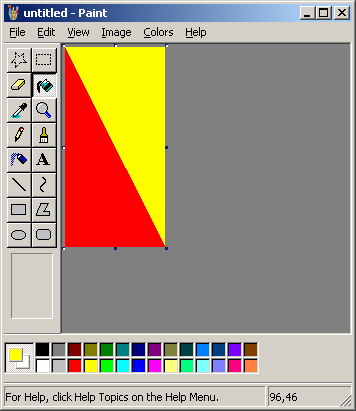
Go into the Stretch and Skew menu (Ctrl + W) and shrink your image horizontally down to 1%. Since your image was originally 100 pixels wide, then this will create a 1 pixel wide picture.
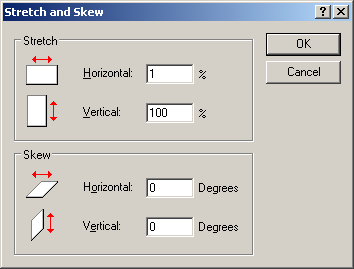
Like this...
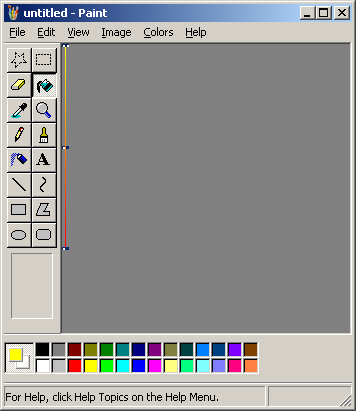
Congratulations, you now have a gradient. Using the Stretch and Skew menu further, you can stretch it back to its original size or whatever size you want.
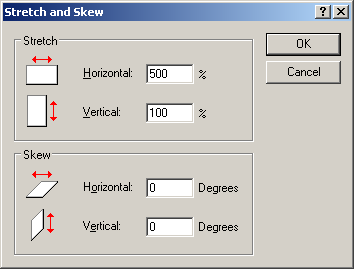
The only problem is, Stretch and Skew will only take numbers less than or equal to 500%.
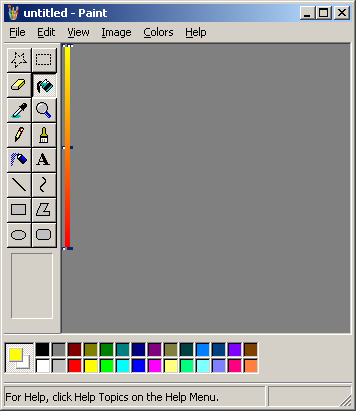
So you may have to repeat it multiple times or stretch it using the selection tool.
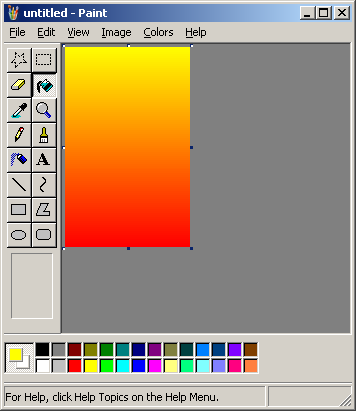
This method can, of course, be applied to horizontal gradients by switching all the instructions with their 90 degree compliments or by doing the entirely same process and rotating the final product by 90 degrees in the Flip and Rotate menu (Ctrl + R). If you want to make a diagonal gradient, then start out with a horizontal or vertical gradient and skew it in the Stretch and Skew menu by however much you want.
